Editor’s Note: This article originally appeared in the November 2016 issue of Ski-Boat magazine, South Africa’s leading publication for saltwater angling enthusiasts. (“Ski boats,” as they’re known among South Africa’s rugged blue-water anglers, refers to trailerable offshore boats designed to launch through the surf on a coast where marinas/inlets are few and very far between.) Author Paul Borcherds has more than 30 years’ experience in the industry and run’s South Africa’s Pro-Rig Fishing Tackle. His how to article is published on sportfishingmag.com with permission of Ski-Boat magazine, allowing us to share with SF enthusiasts these clear and concise directions, photos and illustrations for setting up outriggers for a trolling spread — on any offshore boat.
This article shows five different rigging systems commonly used for offshore trolling from ski-boats and sport-fishing vessels. Most of the components are readily available in reputable offshore tackle shops or from marine-component suppliers.
Rigging System 1: Standard Set-Up with Double Halyard Lines and Bungee Cord
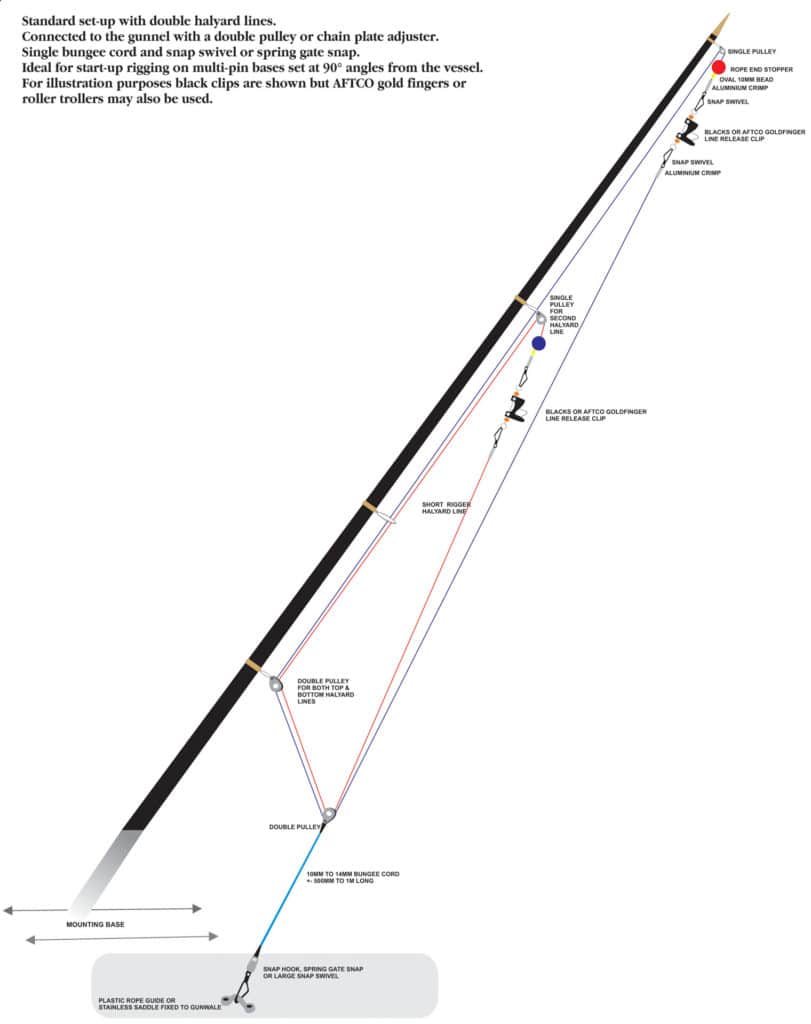
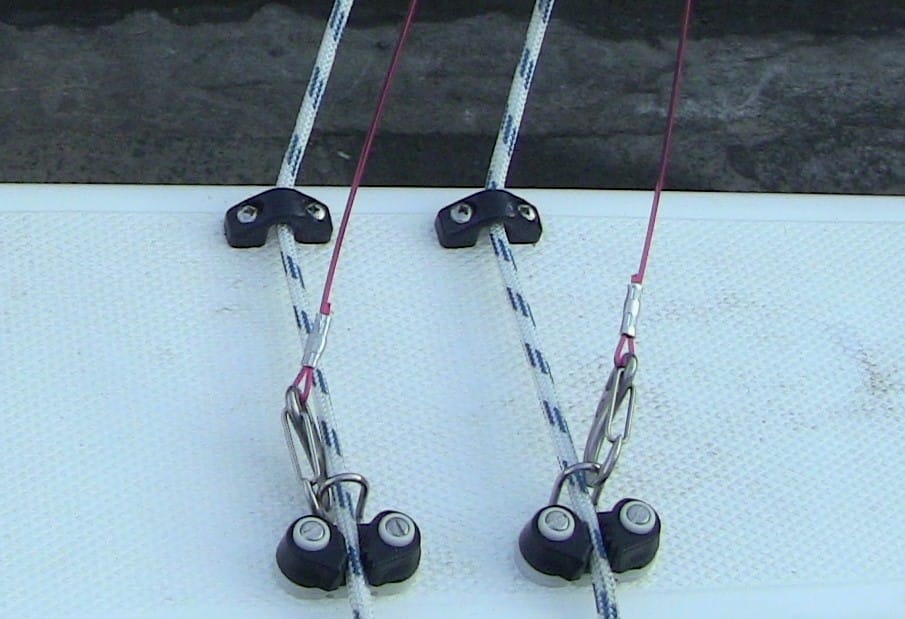
- Connected to the gunnel with a double pulley or chain plate adjuster.
- Single bungee cord and snap swivel or spring gate snap.
- Ideal for start-up rigging on multi-pin bases set at 90-degree angles from the vessel.
- For illustration purposes, Black Marine Products clips are shown but AFTCO gold fingers or roller trollers may also be used.
Rigging System 2: Standard Set-Up with Double Halyard Lines and Sheet Line and Bungee Cord
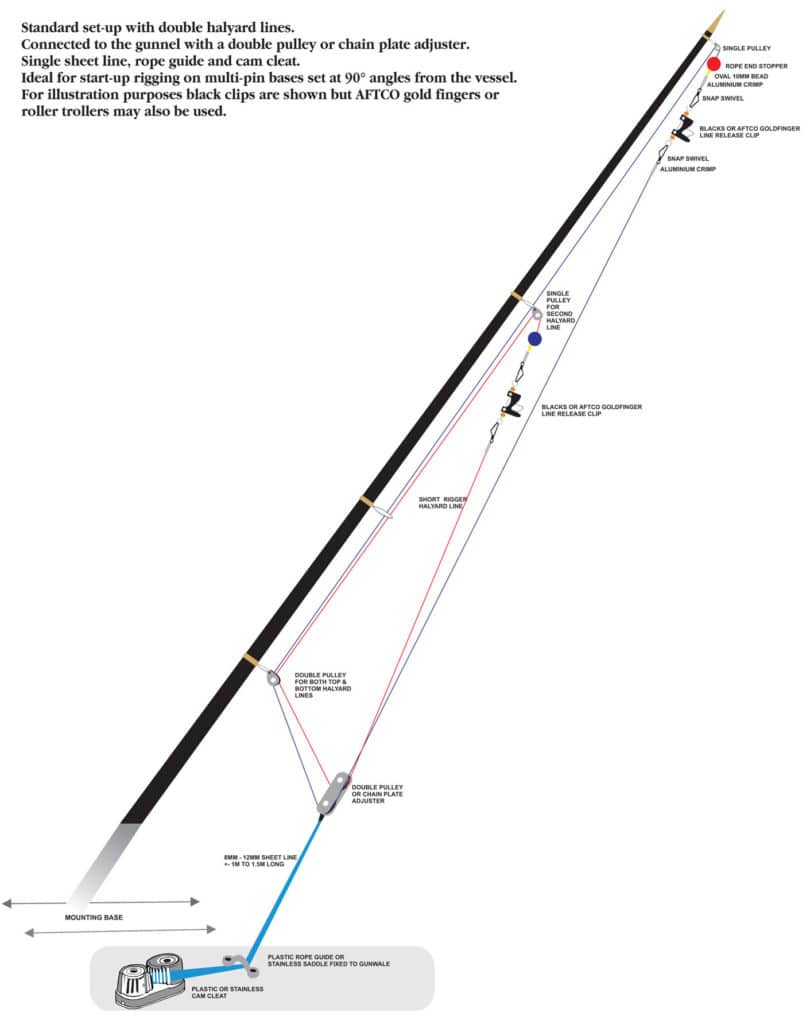
- Connected to the gunnel with a double pulley or chain plate adjuster.
- Single sheet line, rope guide and cam cleat.
- Ideal for start-up rigging on multi-pin bases set at 90-degree angles from the vessel.
- For illustration purposes, Black’s clips are shown but AFTCO gold fingers or roller trollers may also be used.
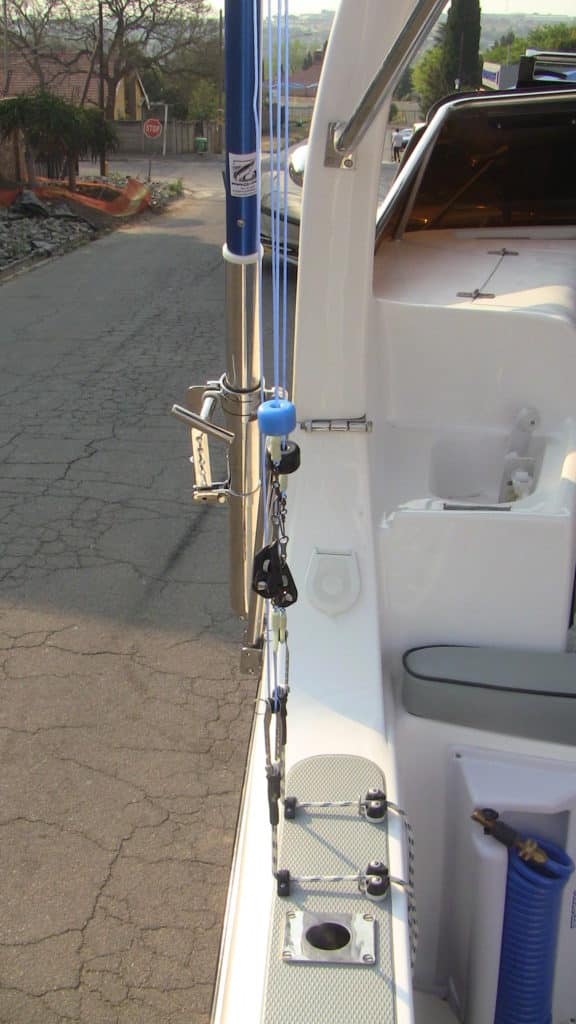
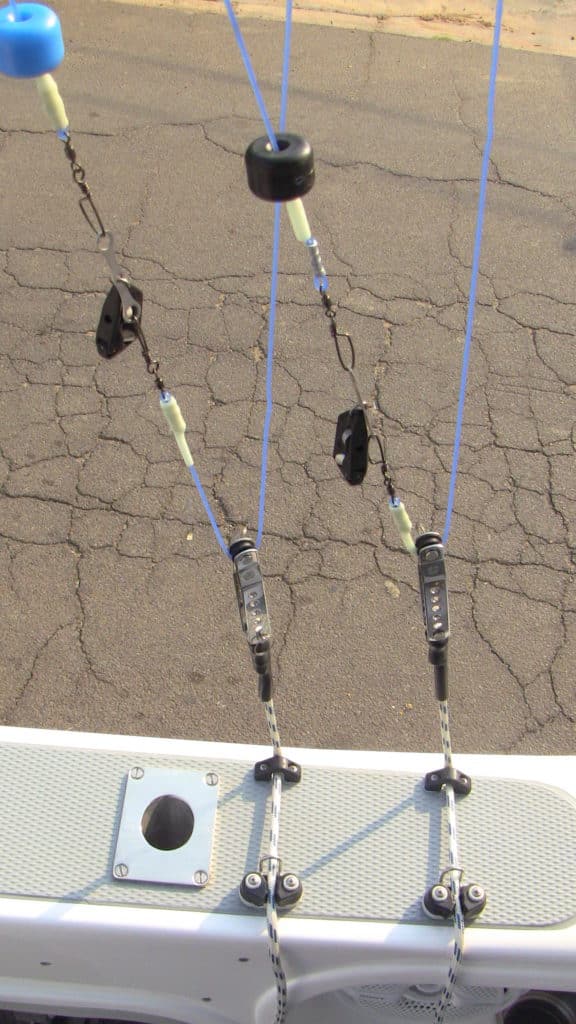
Rigging System 3: Professional Set-Up with Double Halyard Lines
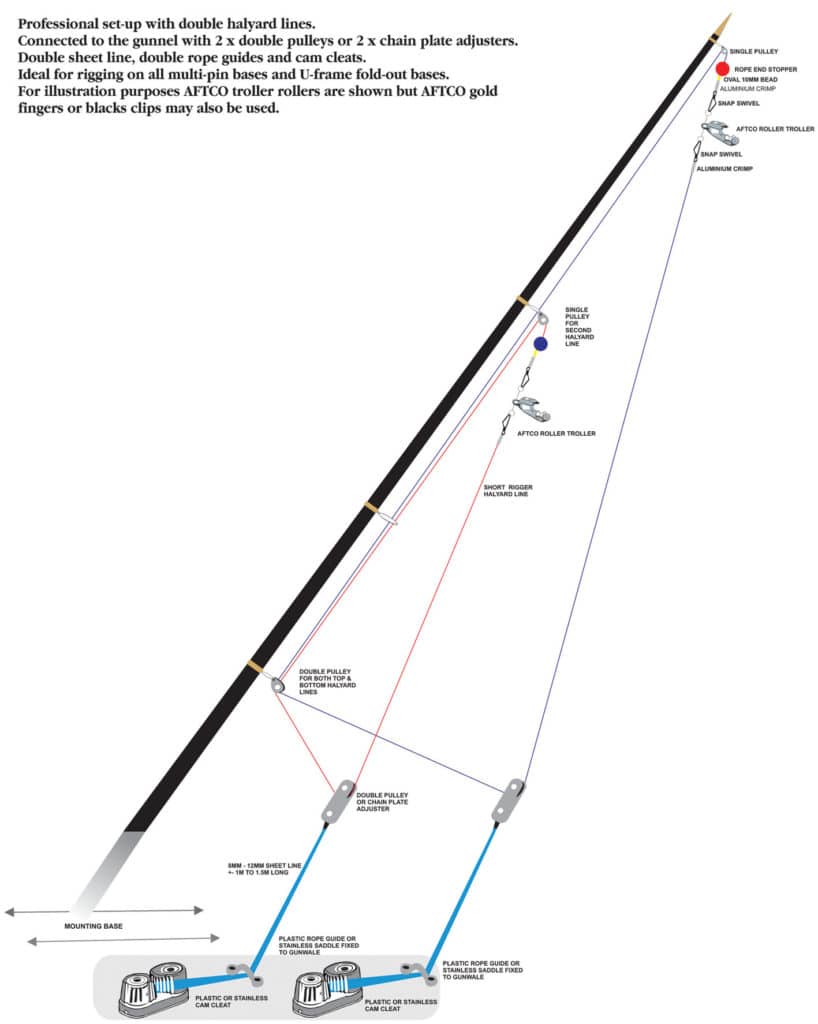
- Connected to the gunnel with 2 x double pulleys or 2 x chain plate adjusters.
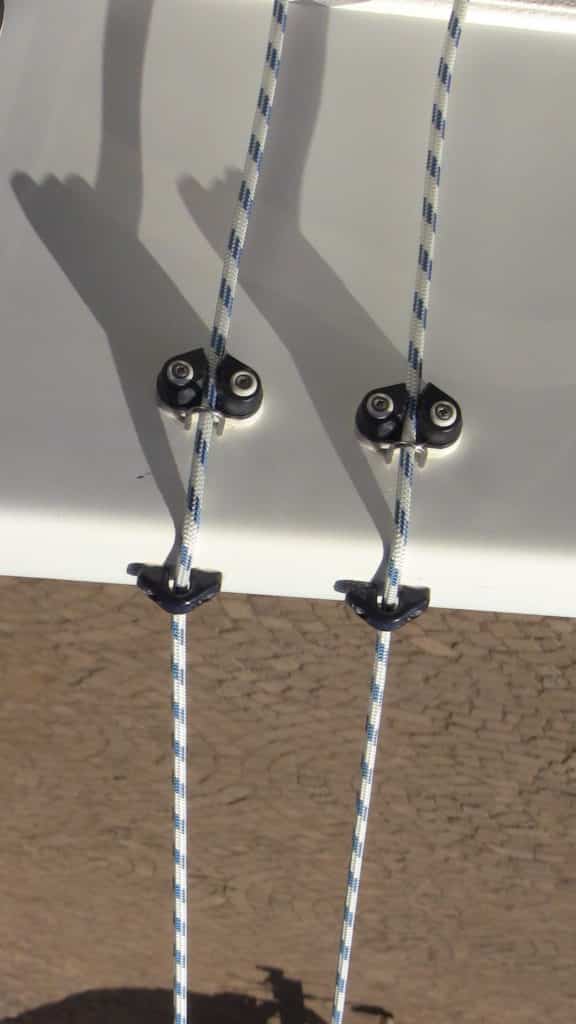
- Double sheet line, double rope guides and cam cleats.
- Ideal for rigging on all multi-pin bases and U-frame fold-out bases.
- For illustration purposes, AFTCO troller rollers are shown but AFTCO gold fingers or Black’s clips may also be used.
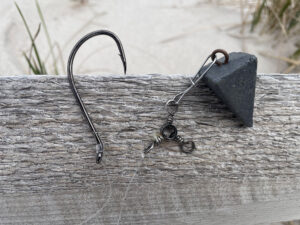
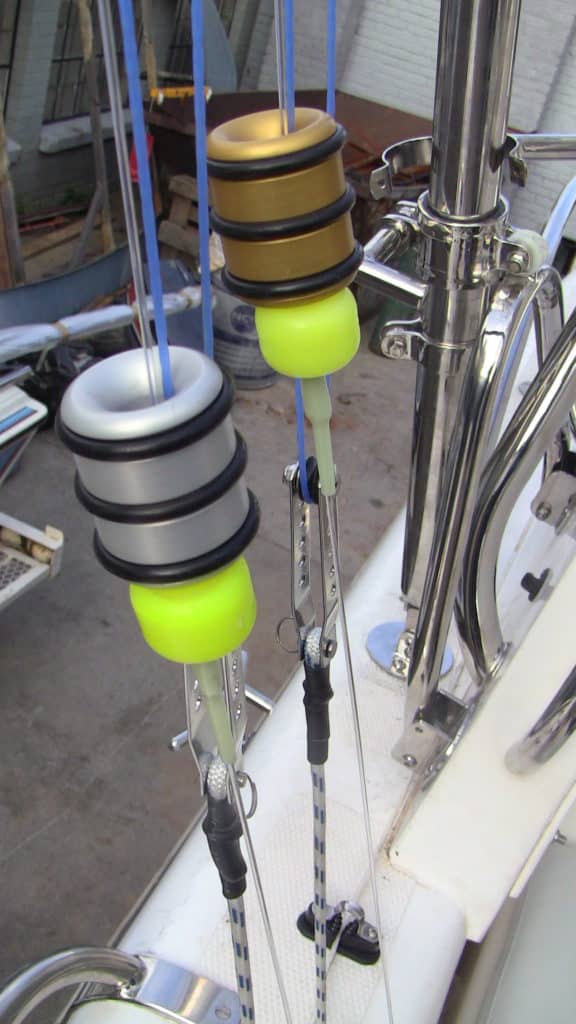
Rigging System 4: Tag Line Set-Up with Single or Double Halyard Lines
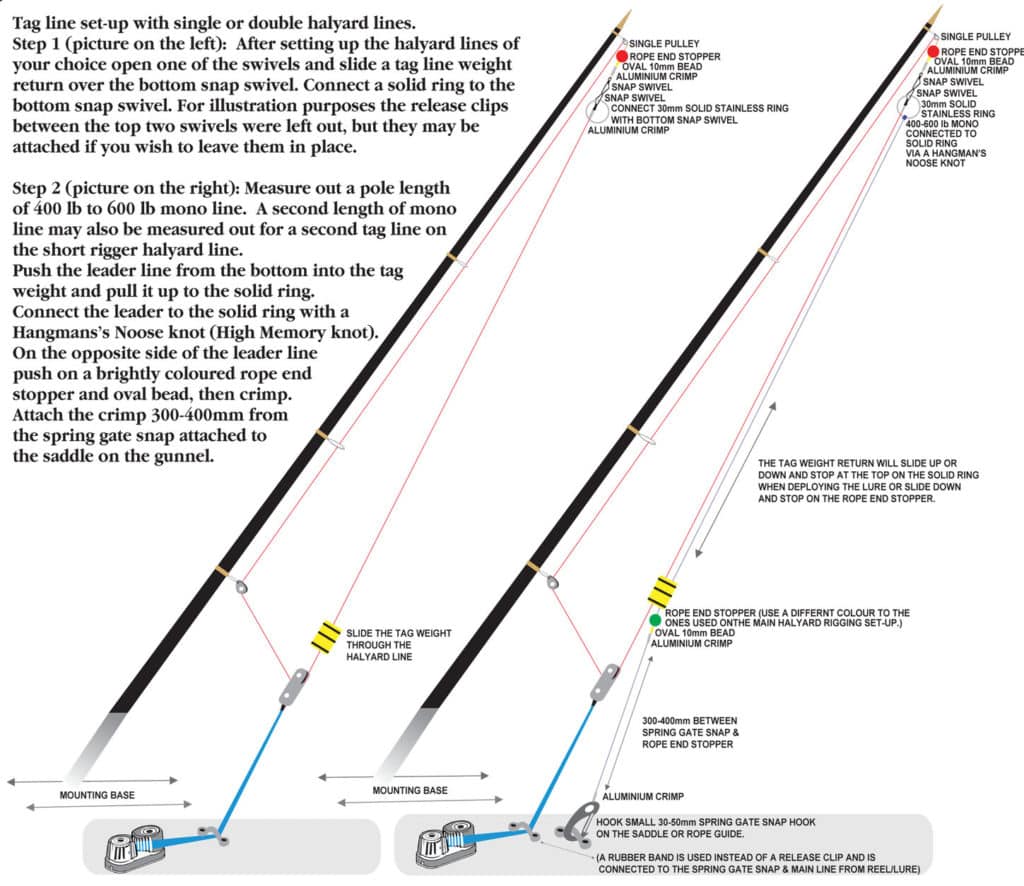
Step 1 (picture on the left):
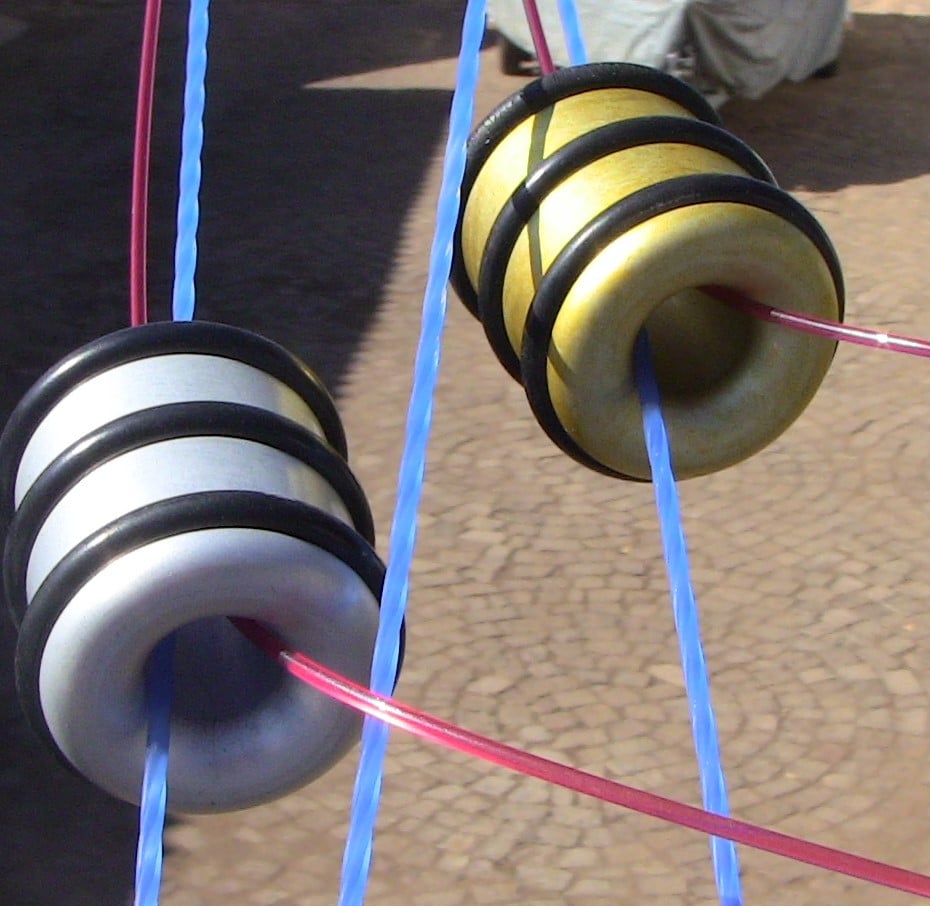
- After setting up the halyard lines of your choice, open one of the swivels and slide a tag line weight return over the bottom snap swivel.
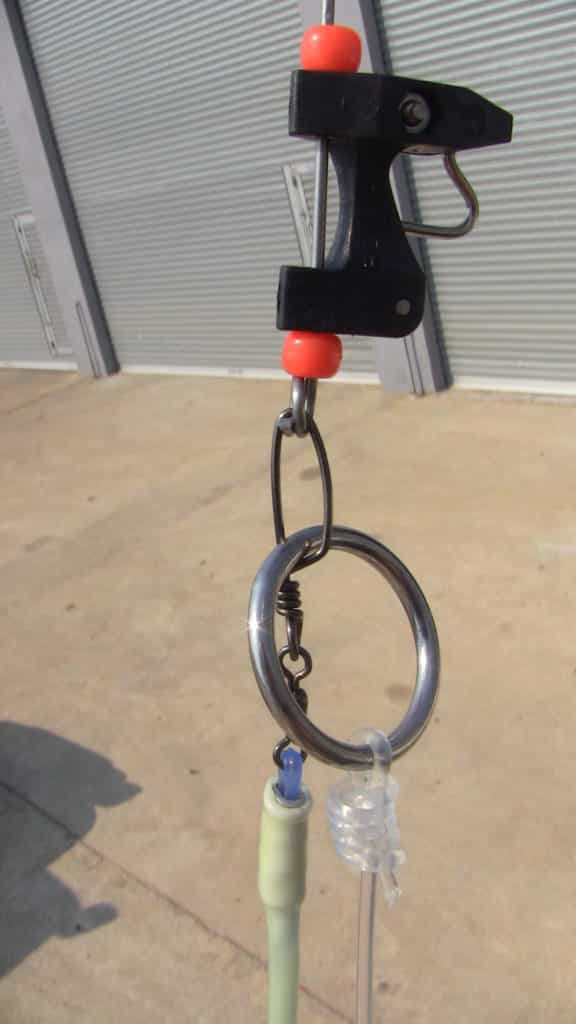
- Connect a solid ring to the bottom snap swivel.
- For illustration purposes, the release clips between the top two swivels were left out, but they may be attached if you wish to leave them in place.
Step 2 (picture on the right):
- Measure out a pole length of 400-pound to 600-pound mono line. A second length of mono line may also be measured out for a second tag line on the short rigger halyard line.
- Push the leader line from the bottom into the tag weight and pull it up to the solid ring.
- Connect the leader to the solid ring with a Hangman’s Noose knot (High Memory knot).
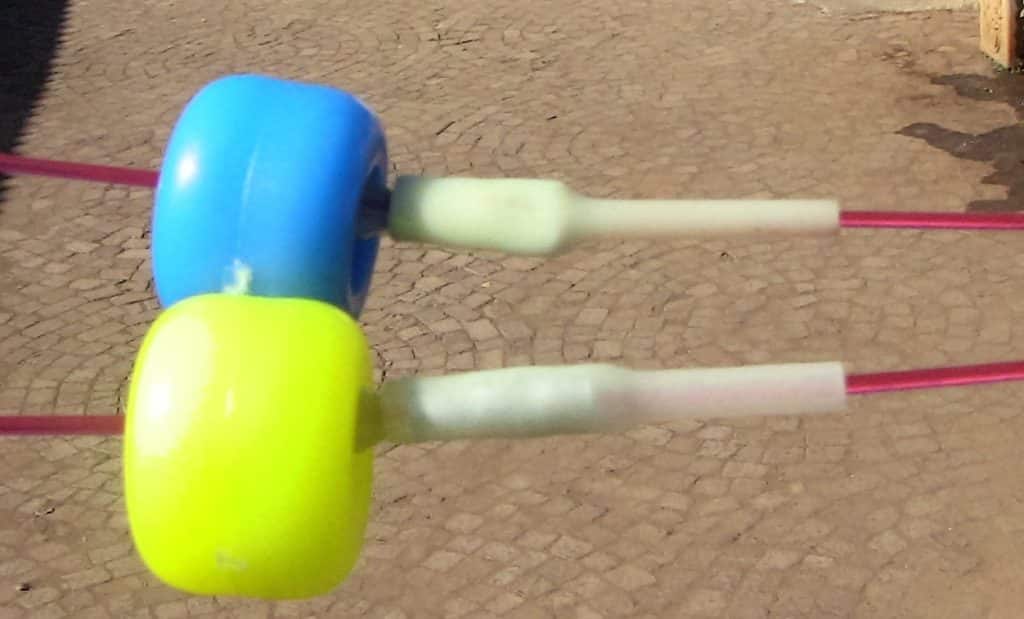
- On the opposite side of the leader line, push on a brightly colored rope end stopper and oval bead, then crimp.
- Attach the crimp 12 inches (300 millimeters) to 16 inches (400 millimeters) from the spring gate snap attached to the saddle on the gunnel.
Rigging System 5: Center Rigger Setup with Single Halyard Line

Step 1:
- Similar to the tag line set-up.
- After setting up the halyard line, open one of the swivels and slide a tag line weight return over the bottom snap swivel.
- Connect a solid ring to the bottom snap swivel.
- For illustration purposes, the release clips between the top two swivels were left out, but they may be attached if you wish to use them.
Step 2:
- Measure out a pole length of 400-pound to 600-pound mono line.
- It is advisable to make this at least 1 meter longer than the pole in order to attach the rubber band to the mono line from the reel without reaching up for the spring gate snap while standing on the deck.
- Push the leader line from the bottom into the tag weight and pull it up to the solid ring.
- Connect the leader to the solid ring with a Hangman’s Noose knot (High Memory knot).
- On the opposite side of the leader line, push a brightly colored (yellow or orange) rope end stopper and oval bead, then crimp.
- Attach the crimp 12 inches (300 millimeters) to 16 inches (400 millimeters) from the spring gate snap.